Table of Contents
Are you tired of store-bought granola bars loaded with preservatives and artificial ingredients? Look no further! Learning how to make homemade granola bars is easier than you think, and with just a few simple ingredients, you can create delicious, healthy, and customizable snacks. In this article, we'll take you through the step-by-step process of making homemade granola bars using natural ingredients like rolled oats, nut butter, and honey. Whether you're a busy parent looking for a quick breakfast option or an athlete seeking a nutritious energy boost, homemade granola bars are the perfect solution. We'll cover the benefits of using natural ingredients, provide tips and tricks for making the perfect batch, and explore ways to customize your granola bars with your favorite mix-ins. So, let's get started on this journey to create the perfect homemade granola bars and make healthy snacking a breeze. Discover how to make homemade granola bars that are not only delicious but also good for you.
Benefits of Making Homemade Granola Bars with Natural Ingredients
Benefits of Making Homemade Granola Bars with Natural Ingredients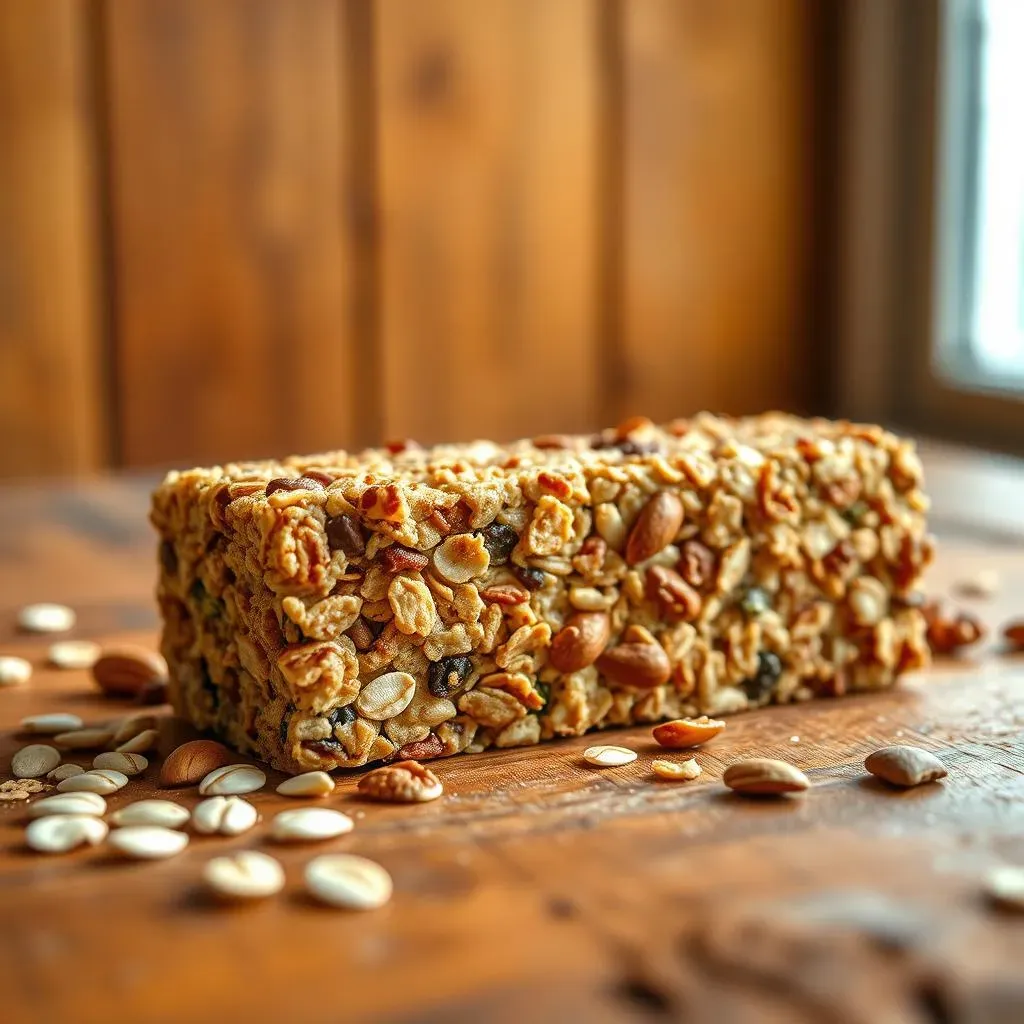
Making homemade granola bars using natural ingredients has numerous benefits that make them a superior choice to store-bought options. For one, natural ingredients provide better nutrition. Store-bought granola bars are often filled with preservatives, added sugars, and artificial flavorings that can be detrimental to our health. In contrast, homemade granola bars made with rolled oats, nuts, seeds, and natural sweeteners like honey offer a nutrient-dense snack that's rich in fiber, protein, and healthy fats.
Another significant advantage of homemade granola bars is customization. When you make your own, you can choose the ingredients that suit your dietary needs and preferences. For instance, if you're gluten-intolerant, you can use gluten-free oats. If you prefer a vegan diet, you can substitute honey with maple syrup or another natural sweetener. This level of control allows you to create granola bars that not only taste great but also align with your health goals.
Ingredient | Health Benefit | Why It's Important |
|---|---|---|
Rolled Oats | High in Fiber | Supports digestive health and satiety |
Nuts and Seeds | Rich in Protein and Healthy Fats | Provides sustained energy and supports heart health |
Natural Sweeteners (Honey, Maple Syrup) | Lower Glycemic Index | Reduces the risk of blood sugar spikes |
Homemade granola bars are also cost-effective and environmentally friendly. Buying ingredients in bulk reduces packaging waste and can save you money in the long run. Plus, you can make a large batch and store it for up to two weeks, reducing the need for frequent purchases.
- Control over ingredients for dietary restrictions and preferences
- Higher nutritional value compared to store-bought options
- Cost-effective and reduces packaging waste
- Customizable with various mix-ins for different flavors
By making your own granola bars, you're not only taking charge of your health but also contributing to a more sustainable lifestyle. With the simple recipe and tips provided in this guide, you'll be on your way to creating delicious, healthy, and personalized granola bars that will become a staple in your household.
The Ultimate Guide to Making Homemade Granola Bars: Tips and Tricks
The Ultimate Guide to Making Homemade Granola Bars: Tips and Tricks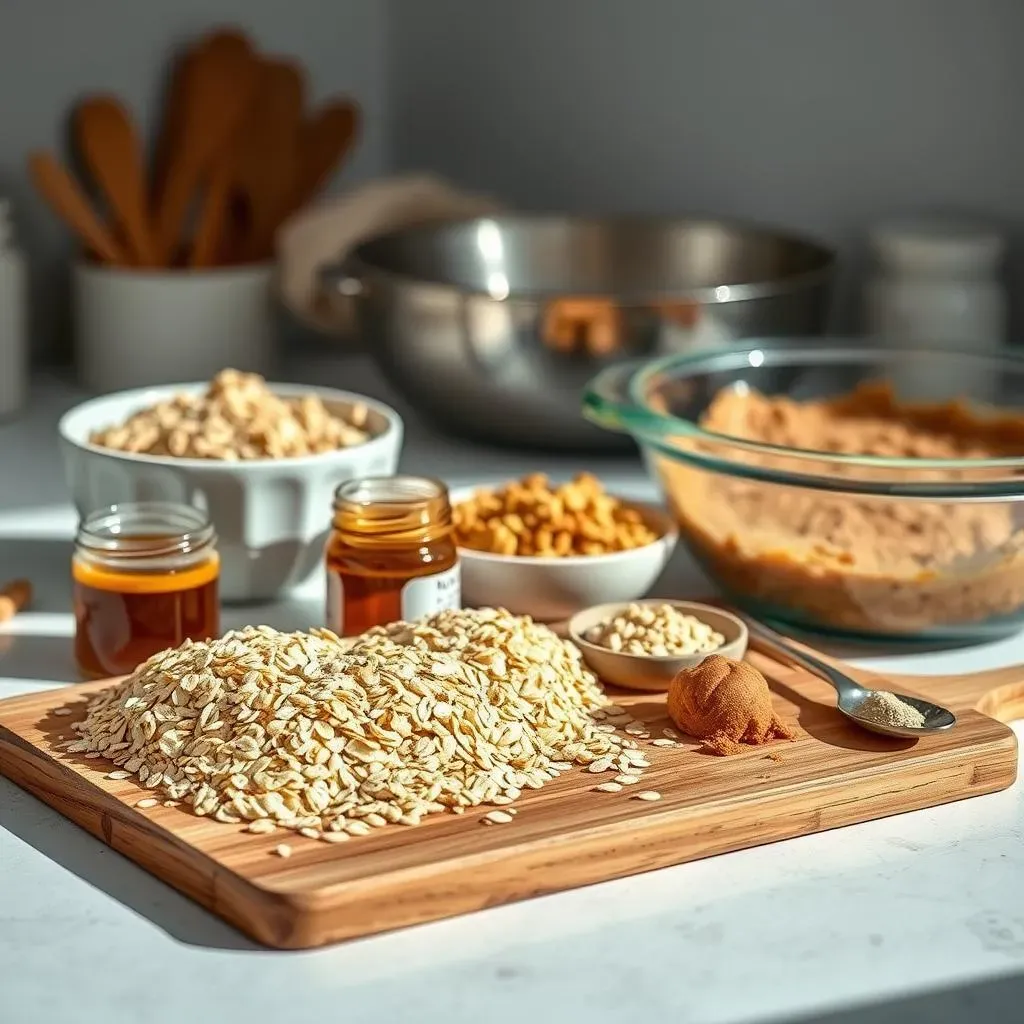
Getting Started: Essential Ingredients and Equipment
Making homemade granola bars is a straightforward process that requires just a few essential ingredients and some basic kitchen equipment. To get started, you'll need rolled oats, nut butter (such as peanut butter or almond butter), honey or another natural sweetener, and any mix-ins you like (nuts, seeds, dried fruits, etc.).
A large mixing bowl, a saucepan, and an 8x8 inch baking dish are the primary equipment needed. It's also helpful to have a spatula, spoon, and parchment paper for pressing the mixture into the dish.
Ingredient | Quantity | Purpose |
|---|---|---|
Rolled Oats | 2 cups | Provides fiber and structure |
Nut Butter | 1/2 cup | Binds ingredients together |
Honey | 1/4 cup | Adds sweetness |
- Use runny nut butter for the best results
- Choose mix-ins that complement each other in texture and flavor
- Experiment with spices like cinnamon or vanilla for added flavor
Mixing and Binding: The Key to Chewy Granola Bars
The mixing process is where the magic happens. Combine the oats, nut butter, and honey in a large bowl. Mix until everything is well incorporated, then add your mix-ins and fold them into the mixture. It's crucial to not overmix, as this can lead to tough granola bars.
The binding process involves pressing the mixture into the prepared baking dish. Use a spatula or your hands to ensure the mixture is evenly distributed and pressed down firmly. This step is critical for creating bars that hold their shape.
Mixing Tip | Purpose |
|---|---|
Use a low heat when melting the nut butter and honey | Prevents burning and promotes smooth mixing |
Don't overmix | Keeps the texture chewy and prevents toughness |
- Press the mixture firmly into the dish to ensure the bars hold their shape
- Let the mixture cool completely before refrigerating
- Use parchment paper for easy removal from the dish
Chilling and Cutting: The Final Steps
After pressing the mixture into the dish, it's time to let it chill. Refrigerate the mixture for at least 30 minutes to set. This step is crucial for the bars to hold their shape when cut.
Once chilled, use a sharp knife to cut the granola mixture into bars. You can cut them into rectangles, squares, or even use a cookie cutter for fun shapes. Wrap each bar individually in parchment paper or aluminum foil and store them in an airtight container.
Storage Option | Shelf Life |
|---|---|
Refrigerate | Up to 1 week |
Freeze | Up to 2 months |
- Label and date the stored bars for easy identification
- Keep them away from direct sunlight and moisture
- Consider vacuum-sealing for longer storage
Customizing Your Homemade Granola Bars: Mixins and Variations
Customizing Your Homemade Granola Bars: Mixins and Variations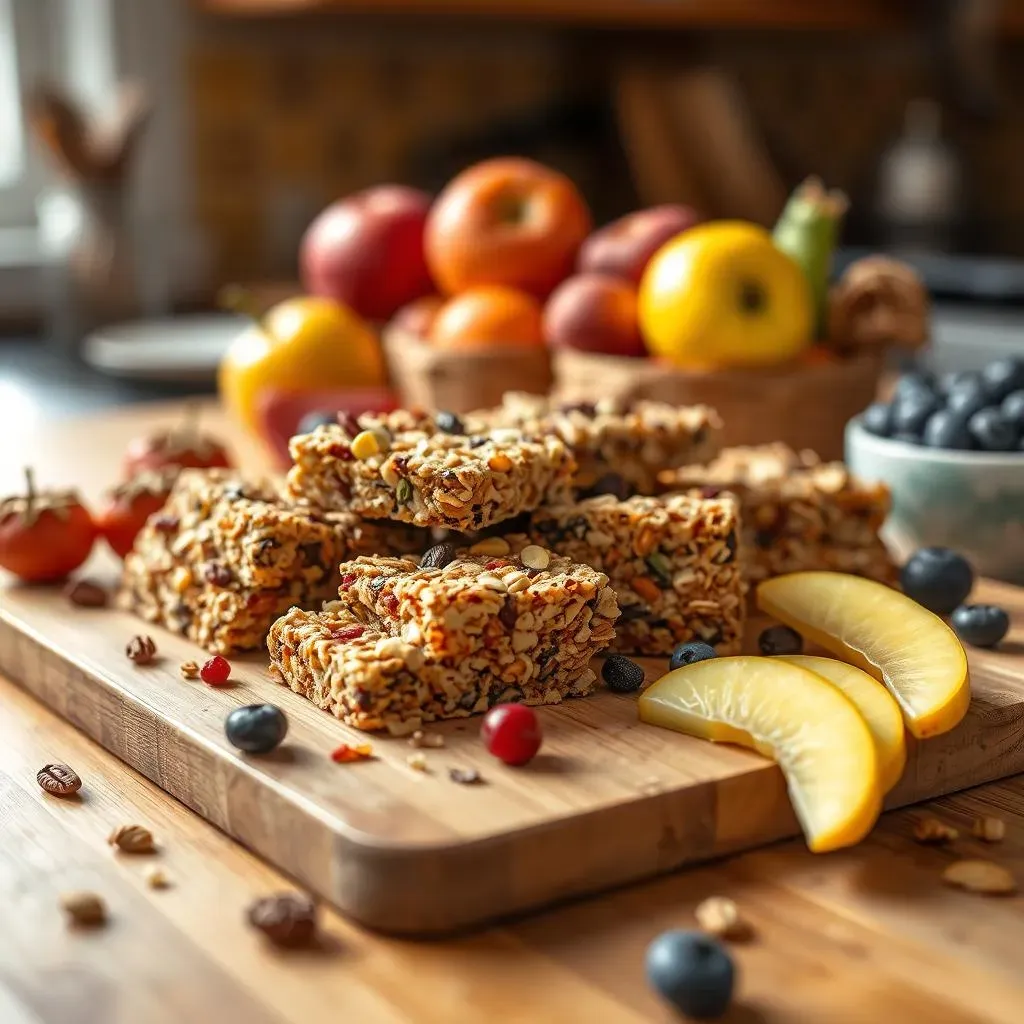
Introduction to Mix-ins
One of the most exciting aspects of making homemade granola bars is the ability to customize them with your favorite mix-ins. Mix-ins can add texture, flavor, and nutrition to your granola bars, making each batch unique. From nuts and seeds to dried fruits and chocolate chips, the possibilities are endless.
When choosing mix-ins, consider the flavor profile and texture you want to achieve. For example, if you prefer a sweet and chewy bar, dried cranberries or cherries would be a great addition. If you like a bit of crunch, nuts such as almonds or walnuts are perfect. Seeds like chia, flax, or hemp provide a nutty flavor and a boost of omega-3 fatty acids.
Popular Mix-ins | Benefits | Tips for Use |
|---|---|---|
Nuts (almonds, walnuts, pecans) | Crunchy texture, rich in healthy fats and protein | Chop them for better distribution |
Seeds (chia, flax, hemp) | Nutty flavor, high in omega-3s | Mix well to avoid clumping |
Dried Fruits (cranberries, raisins, apricots) | Natural sweetness, chewy texture | Choose unsweetened and unsulfured options |
- Experiment with different combinations of mix-ins to find your favorite
- Consider dietary restrictions when choosing mix-ins (e.g., gluten-free, vegan)
- Store mix-ins in airtight containers to preserve freshness
Advanced Mix-ins and Variations
Once you've mastered the basic recipe, it's time to get creative with advanced mix-ins and variations. Coconut flakes can add a tropical flavor and extra fiber, while cocoa nibs provide a chocolatey taste and antioxidant boost. Spices like cinnamon, nutmeg, or ginger can add warmth and depth to your granola bars.
For a protein-packed bar, try adding protein powder or peanut butter. If you're looking for a vegan option, substitute honey with maple syrup or another plant-based sweetener. The key is to balance flavors and textures so that each bite is exciting and satisfying.
Variation | Ingredients | Description |
|---|---|---|
Tropical Temptation | Coconut flakes, dried pineapple | A sweet and refreshing blend |
Chocolate Delight | Cocoa nibs, dark chocolate chips | Rich, indulgent, and antioxidant-rich |
Spicy Zinger | Ginger, cinnamon, nutmeg | Warm, aromatic, and invigorating |
- Start with small amounts of new mix-ins to taste
- Balance strong flavors with neutral ingredients
- Document your recipes to refine and share
Making Granola Bars for Special Diets
Homemade granola bars can be adapted to suit various dietary needs, making them inclusive for everyone. For a gluten-free version, ensure your oats are certified gluten-free. Vegan granola bars can be made by replacing honey with maple syrup and using vegan-friendly chocolate.
For those looking for a low-carb or keto option, reduce the oats and increase the nuts and seeds. Diabetics can opt for sugar-free sweeteners like stevia or erythritol. The versatility of homemade granola bars makes them an excellent snack for any dietary requirement.
Dietary Need | Ingredient Adjustments | Tips |
|---|---|---|
Gluten-Free | Use gluten-free oats | Always check the certification |
Vegan | Replace honey with maple syrup, use vegan chocolate | Ensure all mix-ins are vegan-friendly |
Low-Carb/Keto | Reduce oats, increase nuts and seeds | Monitor carb count for each ingredient |
- Always read labels for allergens and certifications
- Be mindful of portion sizes for specific diets
- Consult with a healthcare professional for personalized advice
Storing and Enjoying Your Homemade Granola Bars: Snack Ideas and More
Storing and Enjoying Your Homemade Granola Bars: Snack Ideas and More
Storing Your Homemade Granola Bars for Maximum Freshness
Once you've made your homemade granola bars, proper storage is key to maintaining their freshness and texture. Here are some tips to keep your granola bars fresh for a longer period:
Store the bars in an airtight container: This will protect them from moisture and other environmental factors that can cause them to become stale or soft. You can use glass or plastic containers with tight-fitting lids.
Storage Method | Shelf Life | Tips |
|---|---|---|
Refrigerate | Up to 1 week | Keep them away from strong-smelling foods |
Freeze | Up to 2 months | Wrap individually for easy thawing |
- Label and date the containers for easy identification
- Keep the containers in a cool, dry place
- Freeze for longer storage and thaw as needed
Enjoying Your Homemade Granola Bars: Snack Ideas and Serving Suggestions
Homemade granola bars are perfect for a quick breakfast, lunchbox snack, or post-workout energy boost. Here are some ideas to enjoy your granola bars:
On-the-go snack: Wrap individual bars in parchment paper or aluminum foil for a convenient snack.
Breakfast: Pair a granola bar with a piece of fruit or a yogurt parfait for a nutritious start.
Snack Idea | Benefits | Tips |
|---|---|---|
Granola bar and fruit | Convenient and nutritious | Choose seasonal fruits for variety |
Granola bar and yogurt | High in protein and calcium | Select a yogurt that complements the flavor of your granola bar |
- Experiment with different dipping options like almond butter or honey
- Crush granola bars and use as a topping for oatmeal or salads
- Share with friends and family as a healthy gift
Tips for Traveling with Homemade Granola Bars
Homemade granola bars are a traveler's best friend, providing a healthy snack that's easy to pack and consume on the go. Here are some tips for traveling with your granola bars:
Pack them in airtight containers or ziplock bags to maintain freshness.
Consider cutting the bars into smaller pieces for easier snacking.
Travel Tip | Benefit | Implementation |
|---|---|---|
Pack in airtight containers | Keeps bars fresh | Use small containers for individual servings |
Cut into smaller pieces | Easier to eat on the go | Wrap each piece individually |
- Pack a few bars in your carry-on for quick access
- Choose bars with minimal mess, like those without nuts or dried fruits
- Enjoy your homemade granola bars as a healthy alternative to airport or gas station snacks
Conclusion: Enjoy Your Delicious Homemade Granola Bars
With these simple steps and tips, you're now equipped to make your own homemade granola bars that are tailored to your taste preferences. Remember, the key to making great granola bars is using high-quality, natural ingredients and not rushing the chilling process. Experiment with different mix-ins and flavors to keep your snacks exciting and nutritious. Whether you're packing them in lunchboxes, grabbing them as a quick breakfast, or fueling your workouts, homemade granola bars are the perfect companion for a healthy lifestyle. So go ahead, get creative, and indulge in the crunchy goodness of your very own homemade granola bars!